

All your quilting needs in one place!
Since 1961, June Tailor has been developing and manufacturing innovative products for pressing, cutting, piecing and quilting for all levels of sewists from novice to advanced. June Tailor has it all!
Browse Our Popular Categories
Innovative products for all levels of sewists since 1961.
Watch & Learn Videos
Check out all the June Tailor® videos we have to offer. These video tutorials offer step-by-step instructions as well as valuable tips and techniques to make your next project fun and easy.
Quilt As You Go Kit Videos
As easy as 1, 2, 3. Watch how easy it is to sew up June Tailor’s Quilt As You Go and Sewing Kits.
View Playlist

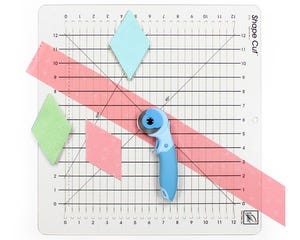
Rulers Videos
Watch how the slotted design of each June Tailor ruler helps with speed and efficiency to have more time for sewing.
View Playlist
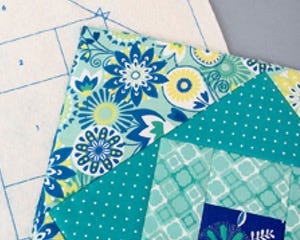
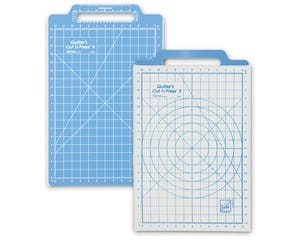
Cutting & Pressing Tools Videos
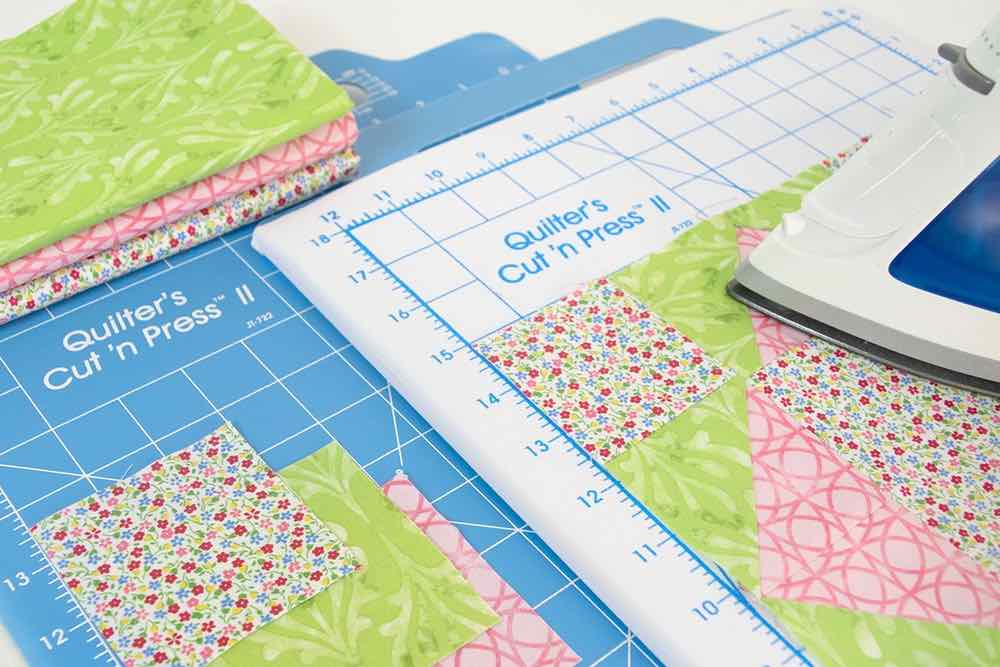
Watch how our cutting and pressing tools help with your cutting needs and give you a professionally pressed look.
View Playlist
Notions Videos
These short informational videos will show you how our notions can help give your projects clean finishes and personal touches.
View Playlist
Frequently Asked Questions
Instructions
How can I get the instructions for a June Tailor product?
Not sure which product to use? Want more information on how to create and use a transfer? Watch our videos linked above.
Where can I find the designs for the Quilt Label Sheets?
Click here to access the instructions and various designs we have available.
Transfers and Printable Fabrics
Which transfer product should I use for my project? How does it work?
Not sure which product to use? Want more information on how to create and use a transfer? Watch our videos linked above.
How do I design an image?
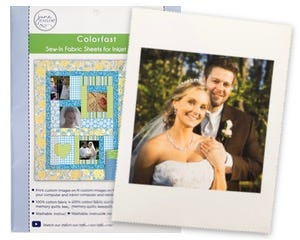
You can design your image in any program you have available to you. Whatever you can print on a piece of paper, you can print on a transfer or fabric sheet.
Can I use a laser printer?
No, do not use our products in a laser printer. All of our transfer products and fabrics have coating designed for use with water based inkjet inks. In addition, laser printers typically use heat to apply toner. Since heat is used to fuse the transfers to a project, there is a likelihood of transfers melting in a laser printer.
Which way do I load the transfer sheet into my printer?
Print on the unmarked side of the sheet. Consult the owner’s manual for your printer to determine the correct orientation. Note that many printers have an embossed icon right on the printer itself.
How do I “mirror image”?
Consult the owner’s manual for your printer to locate the appropriate print settings for the “mirror image”, “reverse image” or “t-shirt transfer” setting.
Do I have an inkjet printer?
Consult your owner’s manual to determine if your printer is a standard inkjet printer. Note that June Tailor® products do not work in laser printers. Some photo quality die based inks are also not compatible with June Tailor® fabrics and transfers.
Can I use a heat press for transfers?
Yes. The recommended settings are 350 – 375 degrees for 25 to 30 seconds. Testing for your specific heat press is recommended.
Why didn’t my Dark T-Shirt Transfer adhere / stick/iron onto my t-shirt?
Make sure to remove the paper backing from the Dark T-Shirt Transfer sheet before you start to press. Place face up on project surface, cover with parchment paper and iron as instructed.
Can I wash my transfer? How long will it last?
Yes, transfers that have been completely fused to a project may be laundered. Wait 24 hours after transferring, turn inside out, use mild detergent and cold water. We recommend line drying or drying on very low heat to prevent the transfer from melting or cracking. Provided that transfer has completely adhered to the fabric as directed and washing instructions are followed, we’ve had transfers last for 30+ washings.
Why did my transfer image wash out or crack when I laundered it?
T-Shirt transfers need to be fully fused, almost melted into the fabric. If not heated long or hot enough, the ink may wash off or air space between the fabric and transfer can cause the transfer to lift and/or crack when laundering.
Helpful hint: When creating multiple shirts/projects at one time, allow the iron to reheat for several minutes between transfers and make sure to fully fuse each transfer. Avoid using an auto-shutoff iron.
Why didn’t my Light T-Shirt Transfer completely stick to my t-shirt?
Light T-Shirt transfers need to be applied to unwashed fabric. Removing the natural sizing from new garments and fabrics or residue from detergents and softeners will prevent the transfer from correctly adhering.
Also, make sure that each area of the entire image is pressed for 20 seconds. A full page image may take up to 120 seconds to completely transfer.
Why did my Computer Printer Fabric image wash out?
Inkjet printer ink is water soluble. Water or moisture that comes in contact with this printed fabric will remove the ink. This product is dry clean only.
The Colorfast, Fusible Fabric or Quick Fuse fabric won’t feed or jams in my printer.
The rollers that feed paper in printers can have different sensitivity levels. Try setting your printer paper for “cardstock” or “heavyweight” paper. Consult the owner’s manual for settings. Another solution is to apply a strip of masking or painter’s tape to the back side, lead edge of the fabric sheet.
I purchased a Variety Pack of transfers. How do I tell the difference between Light and Dark T-Shirt Transfer Paper?
The Light T-Shirt Transfer sheets have one purple line. The Dark T-Shirt Transfer sheets have two blue lines.
Do I need to do the “Colorfast” treatment?
The “colorfast” treatment sets the ink and removes excess ink from the fabric. This will keep your image looking good longer and minimize any possibility of ink washing out or running onto other fabrics when laundered. We highly recommend taking the time to do the “colorfast” treatment.
How long can printed Colorfast sheets sit before doing the pressing and “colorfast” treatment?
As long as the printed sheets are kept in a dry, cool, clean location, there is no timeframe in which the sheets need to pressed and treated.
Can I use detergent to wash my Colorfast / Quick Fuse™ / Fusible Fabric project?
Because detergents all vary in their ability to remove color from any fabric, we recommend avoiding detergents when washing projects created with these products.
Quilt As You Go
Why didn’t my Mug Mats come with batting? Why did my Mug Mats come with batting?
We offer two different series of Mug Mats:
- Inspirational Mug Mats include printed statements on quilting cotton and patterns to create seven different Mug Mats. These do not include batting.
- Quilt As You Go Inspirational Mug Mats include statements printed on quilting cotton and patterns printed on batting for sew-by-number construction to create seven different mug mats.
Can I buy just the sayings or the batting for the mug mats?
Products are available for sale as is. Visit the June Tailor product categories to learn more.
I didn’t get fabric with my Quilt As You Go product.
Any Quilt As You Go item that does include fabric will be specified as such with the fabric collection identified. Most Quilt As You Go items do not include fabric.
What is included in the Quilt As You Go products?
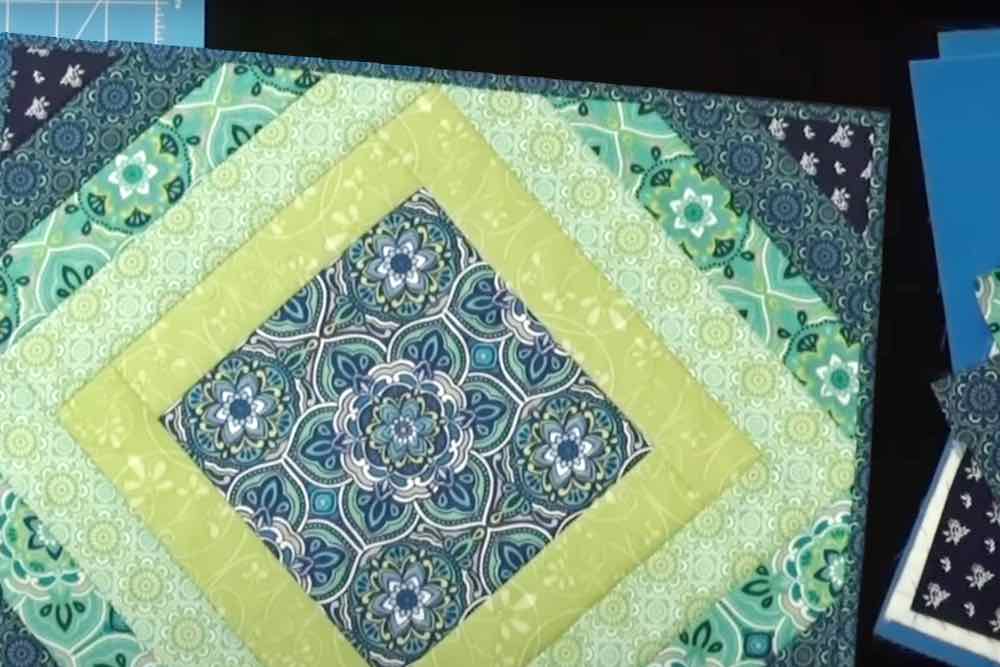
Quilt As You Go products include a sew-by-number pattern printed on batting or foundation and detailed instructions for the construction of your project. Check out the instructional videos linked above for many of our Quilt As You Go products for step-by-step details.
The instructions specify a number of fabrics to use, but I want to use more or fewer fabrics.
Our Quilt As You Go projects are extremely flexible when it comes to your fabric choices. While our instructions come with recommendations, you are free to substitute as many or as few fabrics as you like. We want you to have fun with your fabrics and hope you’ll share your unique projects with us on social media.
Do you have any recommendations for a newbie quilter trying Quilt As You Go for the first time?
We sure do!
- For your sewing machine, you can use a standard presser foot, feed dogs up and a slightly longer stitch length (10 to 15 stitches per inch). Use a universal machine needle (we use an 80/12). Any brand of thread will work fine.
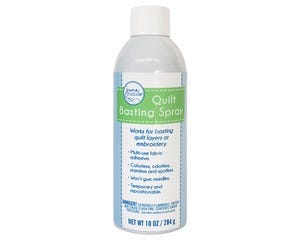
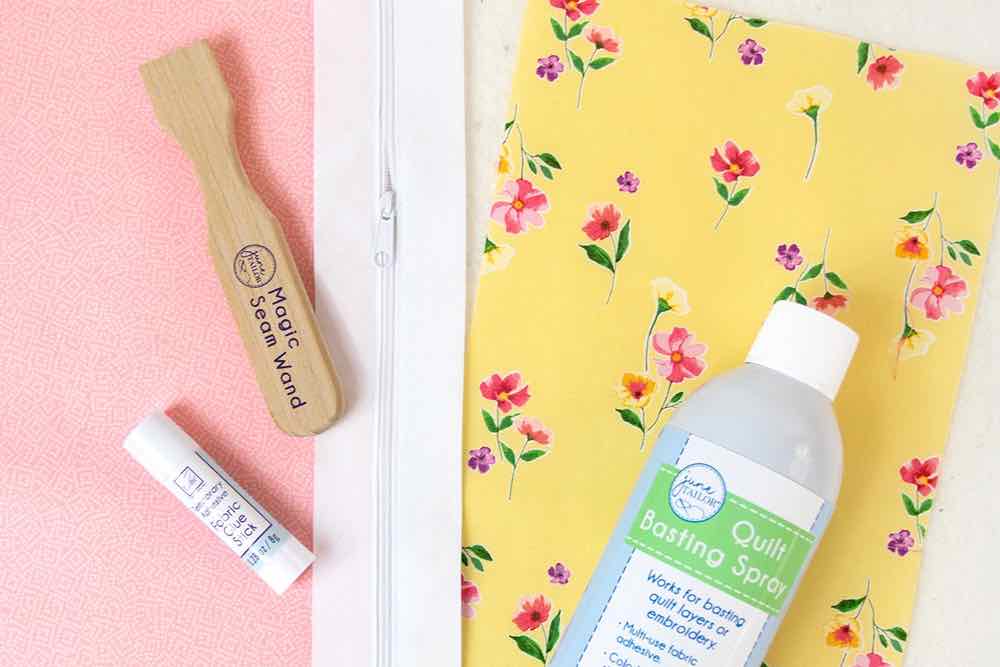
- Use Quilt Basting Spray to attach your backing fabric. It will help keep your layers together as you work.
- For your fabrics, we recommend starching them before cutting. This will make cutting easier and more accurate and you will be able to better finger press your seams as you sew.
- When constructing your project, always align the pieces on the placement lines. This way if your last piece wasn’t quite straight, your next piece will be aligned properly. When sewing, you can push the layers down a bit when feeding in order to keep everything aligned and the layers flat. Finger press each seam after sewing and pin to hold in place to prevent shifting when placing the next piece. Pin your next piece in place to keep it aligned as you sew. Do not iron on batting.
Cutting and Pressing Tools
What cutter do I need to use the Skip Cut Blade?
The Skip Cut Blade is a standard 45 mm size blade and will fit virtually any 45 mm cutter.
Can I use the Skip Cut Blade on towels?
You can use the skip cut blade on towels. Keep in mind that the blade will cut the fabric so the fabric may fray over time or from washing.
Notions
How do I remove spots on my fabric from Quilt Basting Spray?
Use Murphy’s Oil Soap on spots as a pre-treatment laundry stain remover. This treatment may be done several times if necessary to completely remove any stains, as long as they are not heat set by a dryer.
How can I remove Fray Block Stains?
We recommend using isopropyl (rubbing) alcohol on a cotton swab. Test colorfastness of fabric in an inconspicuous spot first.
Batting
How do I remove stains from the fusible batting left on my quilt?
Most dry cleaners are able to remove these stains without any damage to your quilt.
Prop65
Why does June Tailor® put harmful chemicals in their products?
June Tailor® takes product safety seriously, and we are committed to ensuring our products are safe for their intended use and comply with applicable laws and regulations. We understand your concerns and you can be assured that our products go through rigorous safety testing that meets or exceeds all national safety standards.
Proposition 65, also known as the Safe Drinking Water and Toxic Enforcement Act of 1986, was an initiative approved by California voters that addressed growing concerns about exposure to certain chemicals. June Tailor® complies with California state regulations and works closely with our vendors to ensure product materials are safe to use. If a product contains any of the over 900 chemicals covered in Proposition 65, or if a vendor does not provide Proposition 65 test results, we issue warnings on our product packaging for those products that we may continue to serve our California customers.
For more information go to P65Warning.ca.gov